How Do You Repair Gyprock
Gyprock, also known as plasterboard or drywall, is a popular building material used for constructing walls and ceilings in homes and commercial spaces. While Gyprock is known for its durability, it is not immune to damage over time. Cracks, holes, and dents can occur due to various factors such as settling, accidental impacts, or even moisture. If left unaddressed, these imperfections can not only compromise the aesthetic appeal of your living or working environment but also lead to further structural issues.
Repairing damaged Gyprock can be a daunting task for many homeowners. Whether it's caused by accidental knocks, water leaks, or general wear and tear, these imperfections can detract from the overall aesthetics of your home. However, fear not! In this comprehensive guide, we will walk you through the step-by-step process of how Gyprock repair is done, empowering you to tackle these repairs with confidence. From small cracks to larger holes, we'll cover everything you need to know to restore your walls or ceilings to their former glory.
Best Tools Used Plasterboard Repair
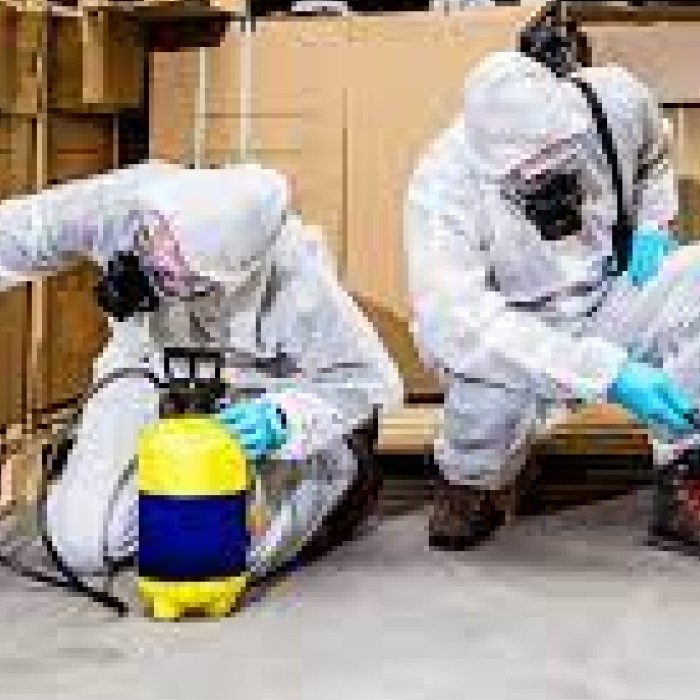
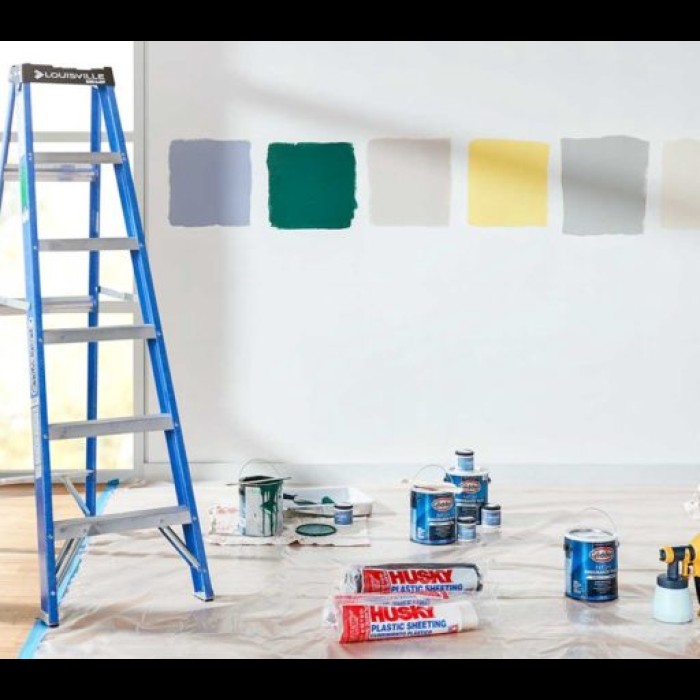
There are many tools that go into gyprock repair, including broad knives, mixtures of different ratios, glue, driers and torches, if the place to be worked in is rather fragile and may not have the necessary equipment for lighting. It is also absolutely necessary to use safety equipments like gloves, goggles, masks and in some cases breathing equipment when the job is too big. We recommend working with professionals when the job is too big because mistakes can happen even if these tools are used by non professionals.
Precautions
It is a necessary thing that one should be aware of everything that may go wrong in the repair process. For instance, there will be times that one will have to cut through walls to repair and replace plasterboard materials with pointy edges, especially on the inner layers. Things like being wary of the electrical wires and removing them before working on the repair process is extremely important before starting the job, or there can be damage both to humans and the property.
Steps in Professional Plasterboard Repair
Following are the steps that professionals use to repair gyprock
Inspection
The first step of any gyprock repair process is thorough inspection of the damage or perceived damage in an area. The inspection is both direct and indirect, with indirect means being judging the damage based on age, use and the environment in which the gyprock is placed. Experts can quickly determine the type of repair needed with such methods. Of course, then there is direct observation which leads professionals to better assess the path to take, like the size and type of cracks and their direction of progress.
After inspection, the following steps are carried out, depending on the type of damage seen and repair needed.
Gyprock For Minor Cracks, Dents and Scratches
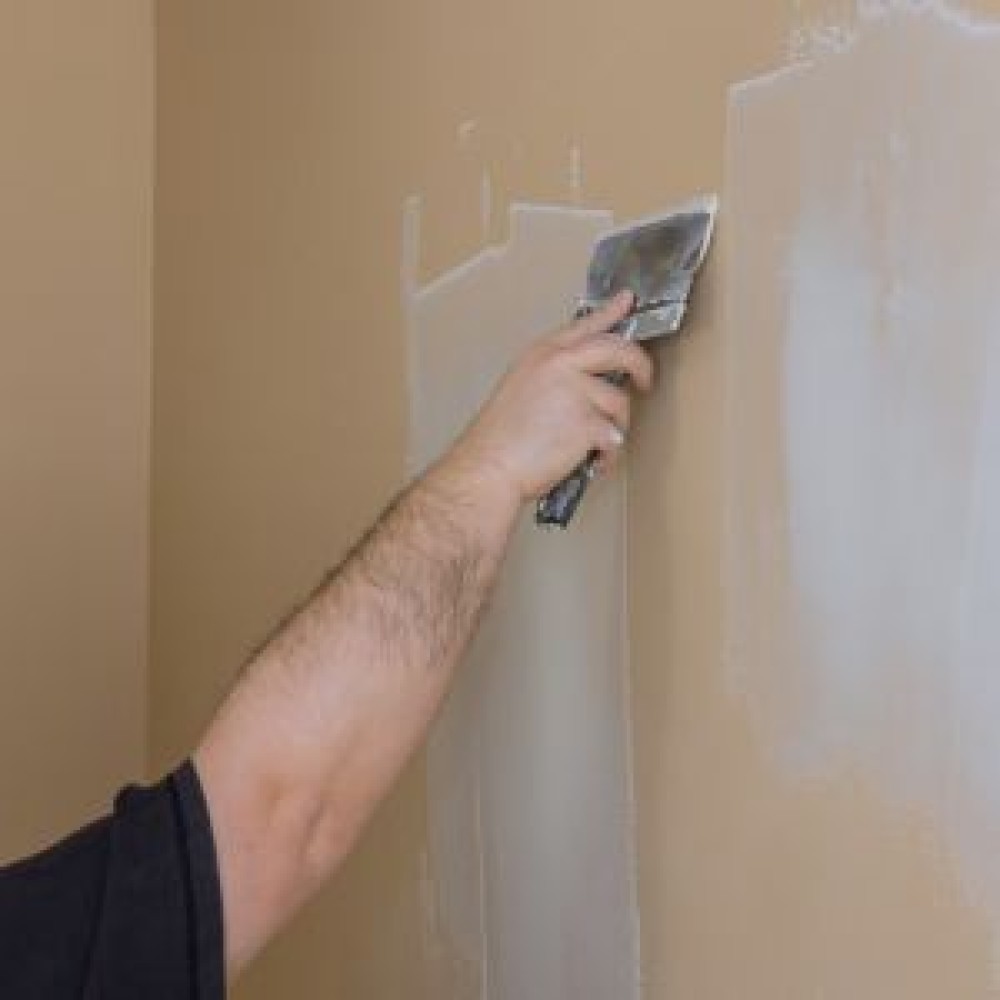
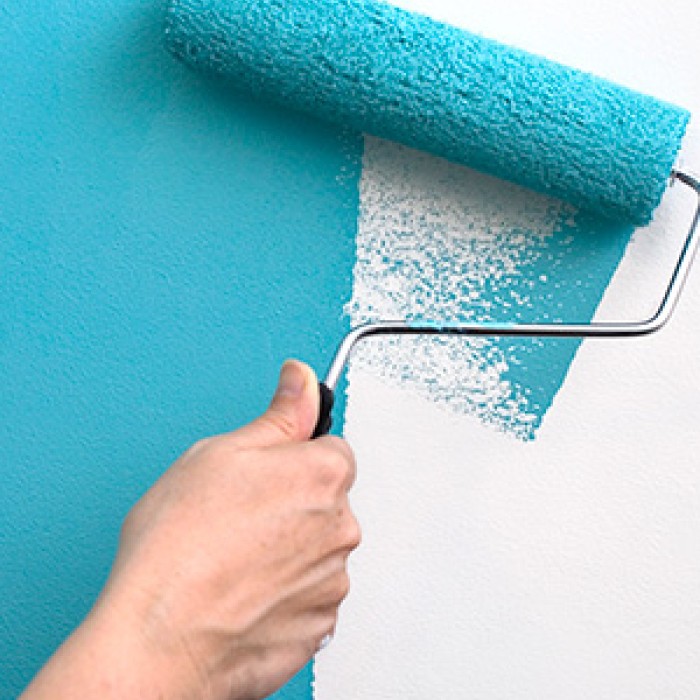
After initial cleaning to remove any dirt and debris, one should apply a layer of joint compound to the damaged section to start the repair process. The joint compound should be evenly spread over the damaged area, using a putty knife. After applying the joint compound, it is necessary to smooth it out. The next step involves drying with sufficient time. Sanding most often is what comes next, depending on the type of repair required. If sanding is done, a primer coat is also applied to make it extra smooth.
Gyprock Hole Repair
When dealing with larger damages like holes and larger bends, the following steps are usually used. Begin by cutting a piece of gyprock that fits the damaged area. Apply joint compound to the back of the gyprock patch and firmly press it into the damaged area. Use a putty knife to smooth out the joint compound around the patch, ensuring a seamless integration. Allow the joint compound to dry completely before proceeding. Once dry, carefully sand the surface of the joint compound until it becomes smooth. Finally, apply a coat of paint or primer to the repaired area for a professional finish.
Gyprock For Larger Problems
For larger problems, it is often the case that the entire gyprock section is replaced, and it is necessarily more costly than other methods described here. It is necessary to carefully remove the gyprock board that is damaged off the surface. Patchwork is abandoned in this phase, and professionals usually size up the area and create a new gyprock structure - board or otherwise, from scratch so that it can be replaced. This includes preparing the gyprock from materials like water, limestone and other materials.
Conclusion
As you can see, repairing Gyprock can be a straightforward process with the right tools and techniques. Whether you're dealing with small cracks or larger holes, the key is to approach the repair methodically and patiently. By following the steps outlined in this blog, you can restore the integrity and appearance of your walls or ceilings efficiently. Remember, for more complex or extensive Gyprock repairs, it's always wise to seek professional assistance. With proper care and attention, your Gyprock surfaces will regain their original strength and beauty, leaving you with a perfectly restored living space. At Worldwide Services, we specialize in Gyprock repairs and offer reliable services to ensure a seamless finish. Don't hesitate to reach out to us for any of your repair needs!

